Creating a model train table is both a fulfilling project for rail enthusiasts and a unique way to display a collection. Whether you’re a seasoned modeler or just starting, this endeavor provides an opportunity to bring creativity to life.
By constructing a customized table, you establish the landscape on which your miniature world will unfold.
As we embark on this journey, we will focus on selecting durable materials that will support the weight and intricacies of our train layout. Our design must consider the structural integrity and the aesthetic and practical aspects of model railroading. From the simple frameworks to the complex scenery, every choice we make will contribute to our model trains’ overall operation and presentation.
Key Takeaways
- Crafting a model train table offers a personalized base for our miniature world.
- Choosing quality materials and a good design ensures durability and visual appeal.
- The construction process involves attention to layout, detailing, and ongoing maintenance.
Choosing the Right Materials
When building a model train table, picking the right materials is crucial for the durability and appearance of our finished project. We want to ensure we’re using materials that will withstand time and use but also allow for a clean, attractive finish.
Type of Wood
We typically look for a balance between strength and weight for the framework and tabletop of our train layout. Plywood is a go-to choice due to its affordability and stability. Specifically, birch plywood offers a nice finish and can be easily painted or stained. We use lumber such as 1x4s for the structure, providing a sturdy yet light base.
Selecting Screws and Nails
It’s imperative to use the right screws and nails to assemble our table securely. Wood screws are better for joining pieces of wood as they provide a stronger hold. We usually opt for a length around two-thirds the thickness of the plywood used. Drywall screws work but are prone to snapping, so we avoid those for structural work. For the tabletop, using nails can be advantageous to minimize the risk of splitting the wood.
Ideal Paint and Finish
Lastly, the choice of paint and finish will bring out the best in our model train table aesthetically. Semi-gloss or satin paint gives the table a smooth look without too much shine. A clear polyurethane finish can be applied when sealing and protecting the wood. It not only enhances the durability of the painted surface but also makes it easier to clean.
Designing Your Model Train Table
When we start designing our model train table, it’s crucial to factor in the layout’s size, shape, and scale, as well as how much space we can dedicate to our setup. We also need to think about the future because it’s easy for our hobby to grow along with our ambitions.
Determining Size and Shape
The size of our model train table is dictated by the available space and the scale we choose. For example, if we opt for an N scale, we can fit a comprehensive layout in a smaller area, typically a 4-by-8 sheet of plywood, due to the smaller size of the trains. On the flip side, an O-scale setup will require substantially more room due to its larger size.
Planning for Expansion
It’s smart to start small, especially if we’re new to model trains. However, it’s key to plan for potential expansion. Our initial design should leave space around the edges or have modular sections that can be easily added. This ensures our table can accommodate more tracks, scenery, and trains as we scale up our collection.
Creating a Track Plan
A concrete track plan is essential. We should choose a layout pattern that fits our table dimensions and allows for varied train movement. It shouldn’t be too convoluted, which might make it look cluttered or become expensive to execute. Strategic placement of turns, straights, and switch points adds excitement to the display while considering operational ease.
Constructing the Table Frame
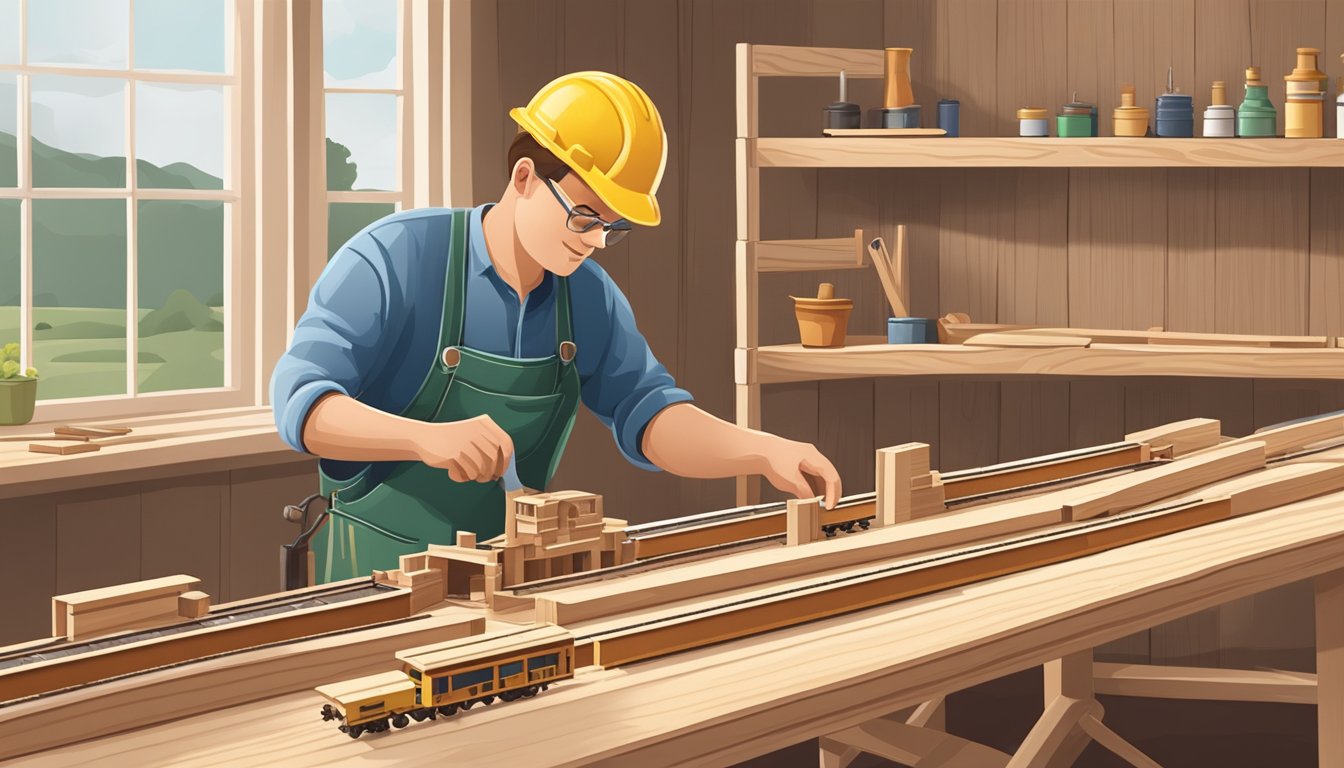
Before we get our hands dirty, remember that the strength of our model train table lies in a solid and level frame. It’s like the foundation of a house — get this right, and everything else will fall into place smoothly.
Building a Sturdy Base
First things first, let’s talk about the base. For a frame that resists warping, we will use quality plywood or a similar stable material because nobody wants a wobbly train ride. We’ll cut the plywood to size, ensuring it fits the top frame snuggly. The key here is precision, so double-check those measurements before cutting.
Adding Legs and Supports
Now, onto the legs and supports. Our table must stand firm, so we’re using straight legs made of durable lumber—an ally against wobbliness. Each leg will be bolted securely to the corners of our base with sturdy bolts. For added stability, we’ll attach horizontal cross members between the legs to keep our structure from doing the salsa dance. And let’s not forget the end sills, which we’ll fix along the length of the table, providing that extra layer of sturdiness.
Ensuring Level and Square
Getting our table perfectly square and level isn’t just satisfying; it’s crucial. We’ll use a framing square to ensure all corners are 90 degrees. As for the leveling, patience and an adjustable foot on each leg will do wonders. By tweaking these, we create a flat surface that’ll keep our miniature world from looking like it’s in the midst of an earthquake.
With these steps, we’ll have crafted a frame that’s as solid as bedrock, ready to support our miniature landscapes and intricate track layouts. The next steps are just as important, so keep up the good work!
Laying Out the Train Track
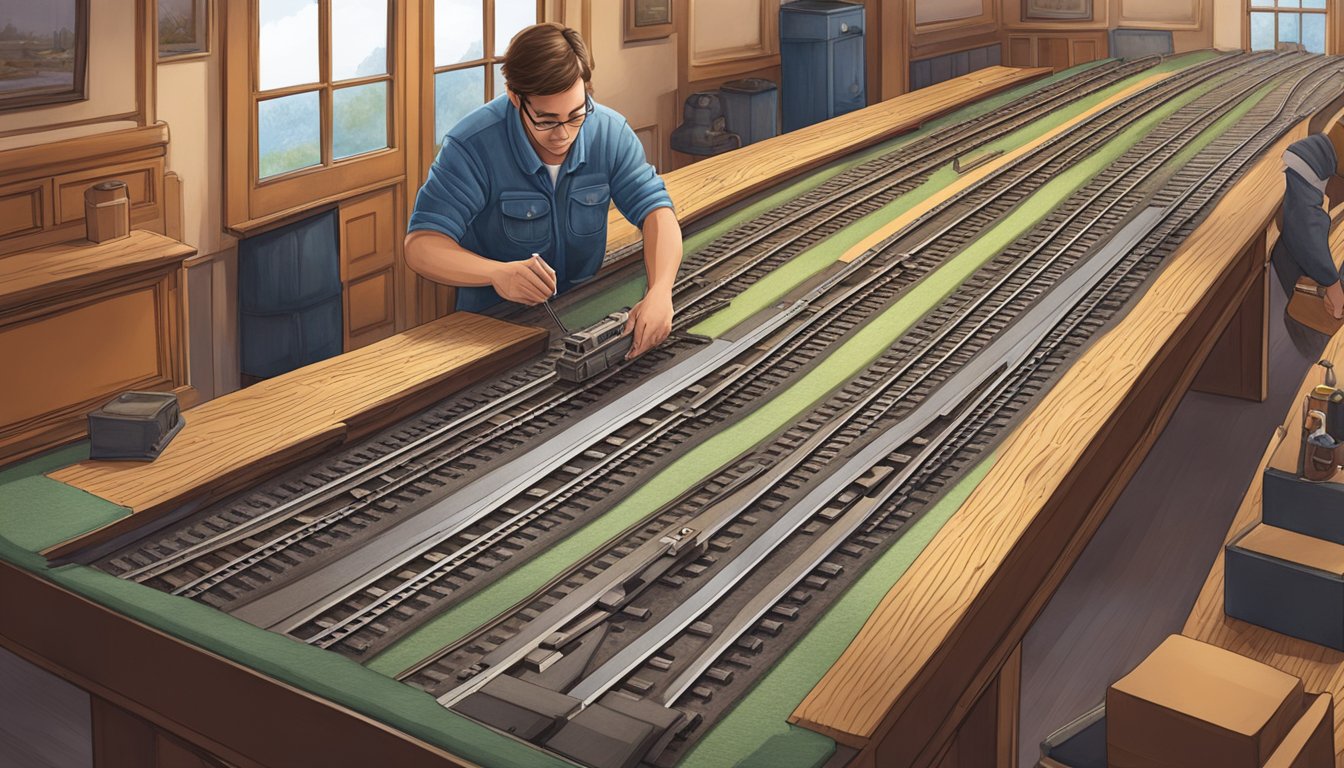
When we lay out the train track, we’re setting the foundation of our model train layout. Precision here means smooth rides for our trains and a more realistic appearance overall.
Assembling Track Pieces
We need to start by connecting the track pieces. It’s like putting together a puzzle, ensuring all pieces snugly fit together. We’ll check that the rails are aligned to prevent any derailments. Each piece must click together securely, and we should periodically test our setup with a train to confirm no hiccups on the track.
Incorporating Grades and Risers
Next up, we’ll create some interest by adding grades and risers. This gives a third dimension to our layout, making it far more than just a flat circle of track. Here’s how we do it:
- Grades: We’ll carefully measure and cut pieces of foam or wood to create a gradual incline. Remember, the steeper the grade, the more powerful the train motor needs to be.
- Risers: These are essential for overpasses or mountains. We stack them to get the desired height, securing each layer before adding the next.
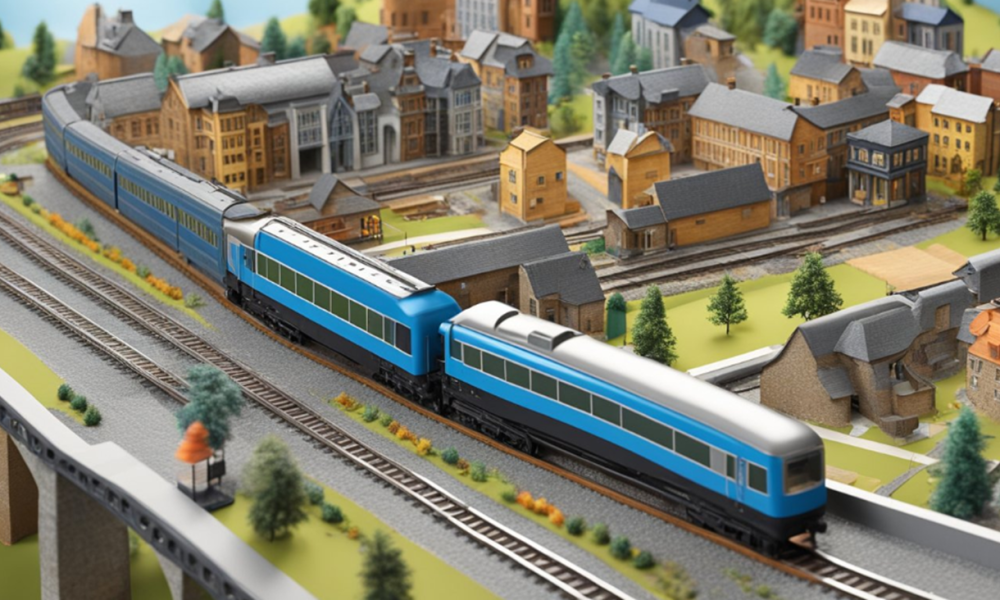
Integrating Scenery and Accessories
Now, let’s bring the world to life around our tracks. We’ll add trees, bridges, and other scenery that complements our trains’ scale and theme:
- Trees: We’ll strategically place them to create forests or line the tracks, enhancing the realistic feel.
- Bridges: They’re not just functional; they’re also focal points. Let’s make sure they’re properly supported and scaled to our trains.
- Accessories: We scatter figures, buildings, and signs to fill up our towns and landscapes, making sure not to overcrowd the trackside.
Considering these elements, we turn a set of tracks into a dynamic model railroad.
Final Touches and Detailing
Now that we’ve built our model train table, it’s time to bring it to life with final touches and detailing. Let’s dive into the fun part, where we’ll add color, life, and functionality to our creation.
Applying Paint and Decorative Elements
We’ll start by choosing the right colors and shades to paint our scenery. Remember that we want to mirror the real world, so we’ll go with greens for grassy areas and browns for dirt paths. For a professional look, we’ll also add wood molding around the edges of our table, giving it a polished frame.
- Paint Checklist:
- Greens for grass
- Browns for dirt paths
- Additional shades for diversity
- Wood Molding:
- Measure the perimeter of the table
- Cut molding to size
- Secure with nails or wood adhesive
Wiring for Locomotives and Accessories
Next up is wiring our layout. We’ll carefully place wires underneath the table to power our locomotives and accessories. Keeping our wiring neat and organized is vital to avoid any electrical mishaps and ensure easy troubleshooting.
- Wiring Steps:
- Layout your track plan and mark where the electronics will go.
- Run wires from the power source to the tracks and accessories.
- Use cable ties to keep the wiring tidy.
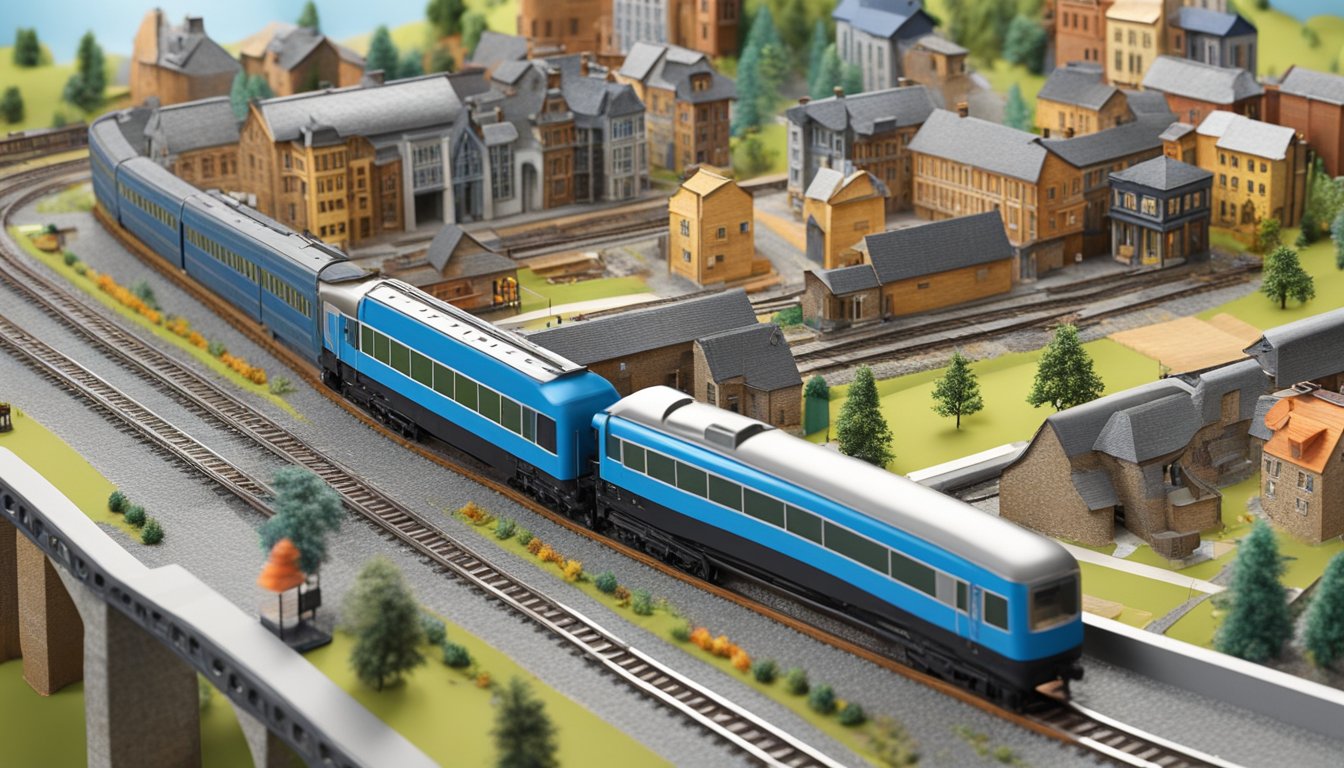
Adding Realistic Landscape Features
Lastly, we’ll add the scenery. This is where our model train set truly comes to life. We’ll plant trees, sculpt hills and mountains, and maybe even add a water feature for that extra touch of realism. Remember, the key here is layering—start with broad shapes and add finer details like bushes, rocks, and buildings.
- Scenery Layers:
- Base terrain (hills and valleys)
- Trees and foliage
- Small details like rocks and buildings
By focusing on these details, we ensure our model train display is impressive and feels alive and authentic.
Care and Maintenance
When we dive into the world of model trains, we must keep our setup in top shape. This means regular cleaning and prompt repairs are key to ensuring our train table remains a sturdy and central piece of our railway passion.
Daily Cleaning Tips
- Light Dusting: We use a soft brush or microfiber cloth to remove any dust from the surface gently. For those harder-to-reach areas, canned air can do the trick.
- Track Maintenance: We pass over the tracks daily with a rubber track cleaning block to prevent dirt build-up that can inhibit train performance.
- Immediate Spill Response: Did we spill something? We clean it immediately with a damp cloth to prevent stains and damage.
Addressing Repairs and Issues
- Regular Inspection: Every couple of months, we inspect the tracks, scenery, and structures for any wear or breakage.
- Fix Loose Connections: If we find loose track sections, we correct them immediately with a bit of track joining compound.
- Sturdy Construction Checks: We ensure all table legs and surfaces are stable. Tightening screws and adding a brace here and there keeps the table robust and ready for action.
Frequently Asked Questions
In our journey to build the perfect model train table, we’ve encountered many common questions. Here, we address those queries with straightforward answers to get your project on the right track.
What’s the best way to start building a model train table?
Starting, we need a plan. Decide the dimensions considering the available space and scale of the model railway. A basic 4 x 8 table is a popular choice for beginners, using a standard sheet of plywood as it gives ample space for an O or S gauge railway.
Can I find free plans for constructing a model train table?
You can find free plans online. Many model train enthusiasts share their own layout plans and construction guides, which can be invaluable when starting your project.
Which materials should I use for a sturdy and durable train table?
We typically use a solid wood frame and a plywood top for a sturdy and durable train table. The wood should be free of warps or splits to ensure the table surface is flat and suitable for the train layout.
How do you add folding legs to a train table for easy storage?
Adding folding legs involves using hinges or foldable brackets. Fit the legs securely to the table’s underside, ensuring they tuck in completely for easy storage.
What’s the ideal height for a comfortable model train table setup?
We find that a height between 28 to 34 inches makes a comfortable train table setup, allowing easy access without bending over excessively or reaching too high. Tailor it to your comfort and the viewing angle you prefer.
Is there a preferred type of plywood for crafting a train table?
Yes, a smooth, high-quality plywood such as birch is often preferred for train tables. It’s flat and sturdy, essential to avoid track alignment issues. And remember, the surface should be sanded to prevent splinters and ensure it’s ready for your layout and scenery.